2. Browsing the map
This part of the documentation refers exclusively to the area of the dashboard outlined in red, i.e. the map and the associated functions.

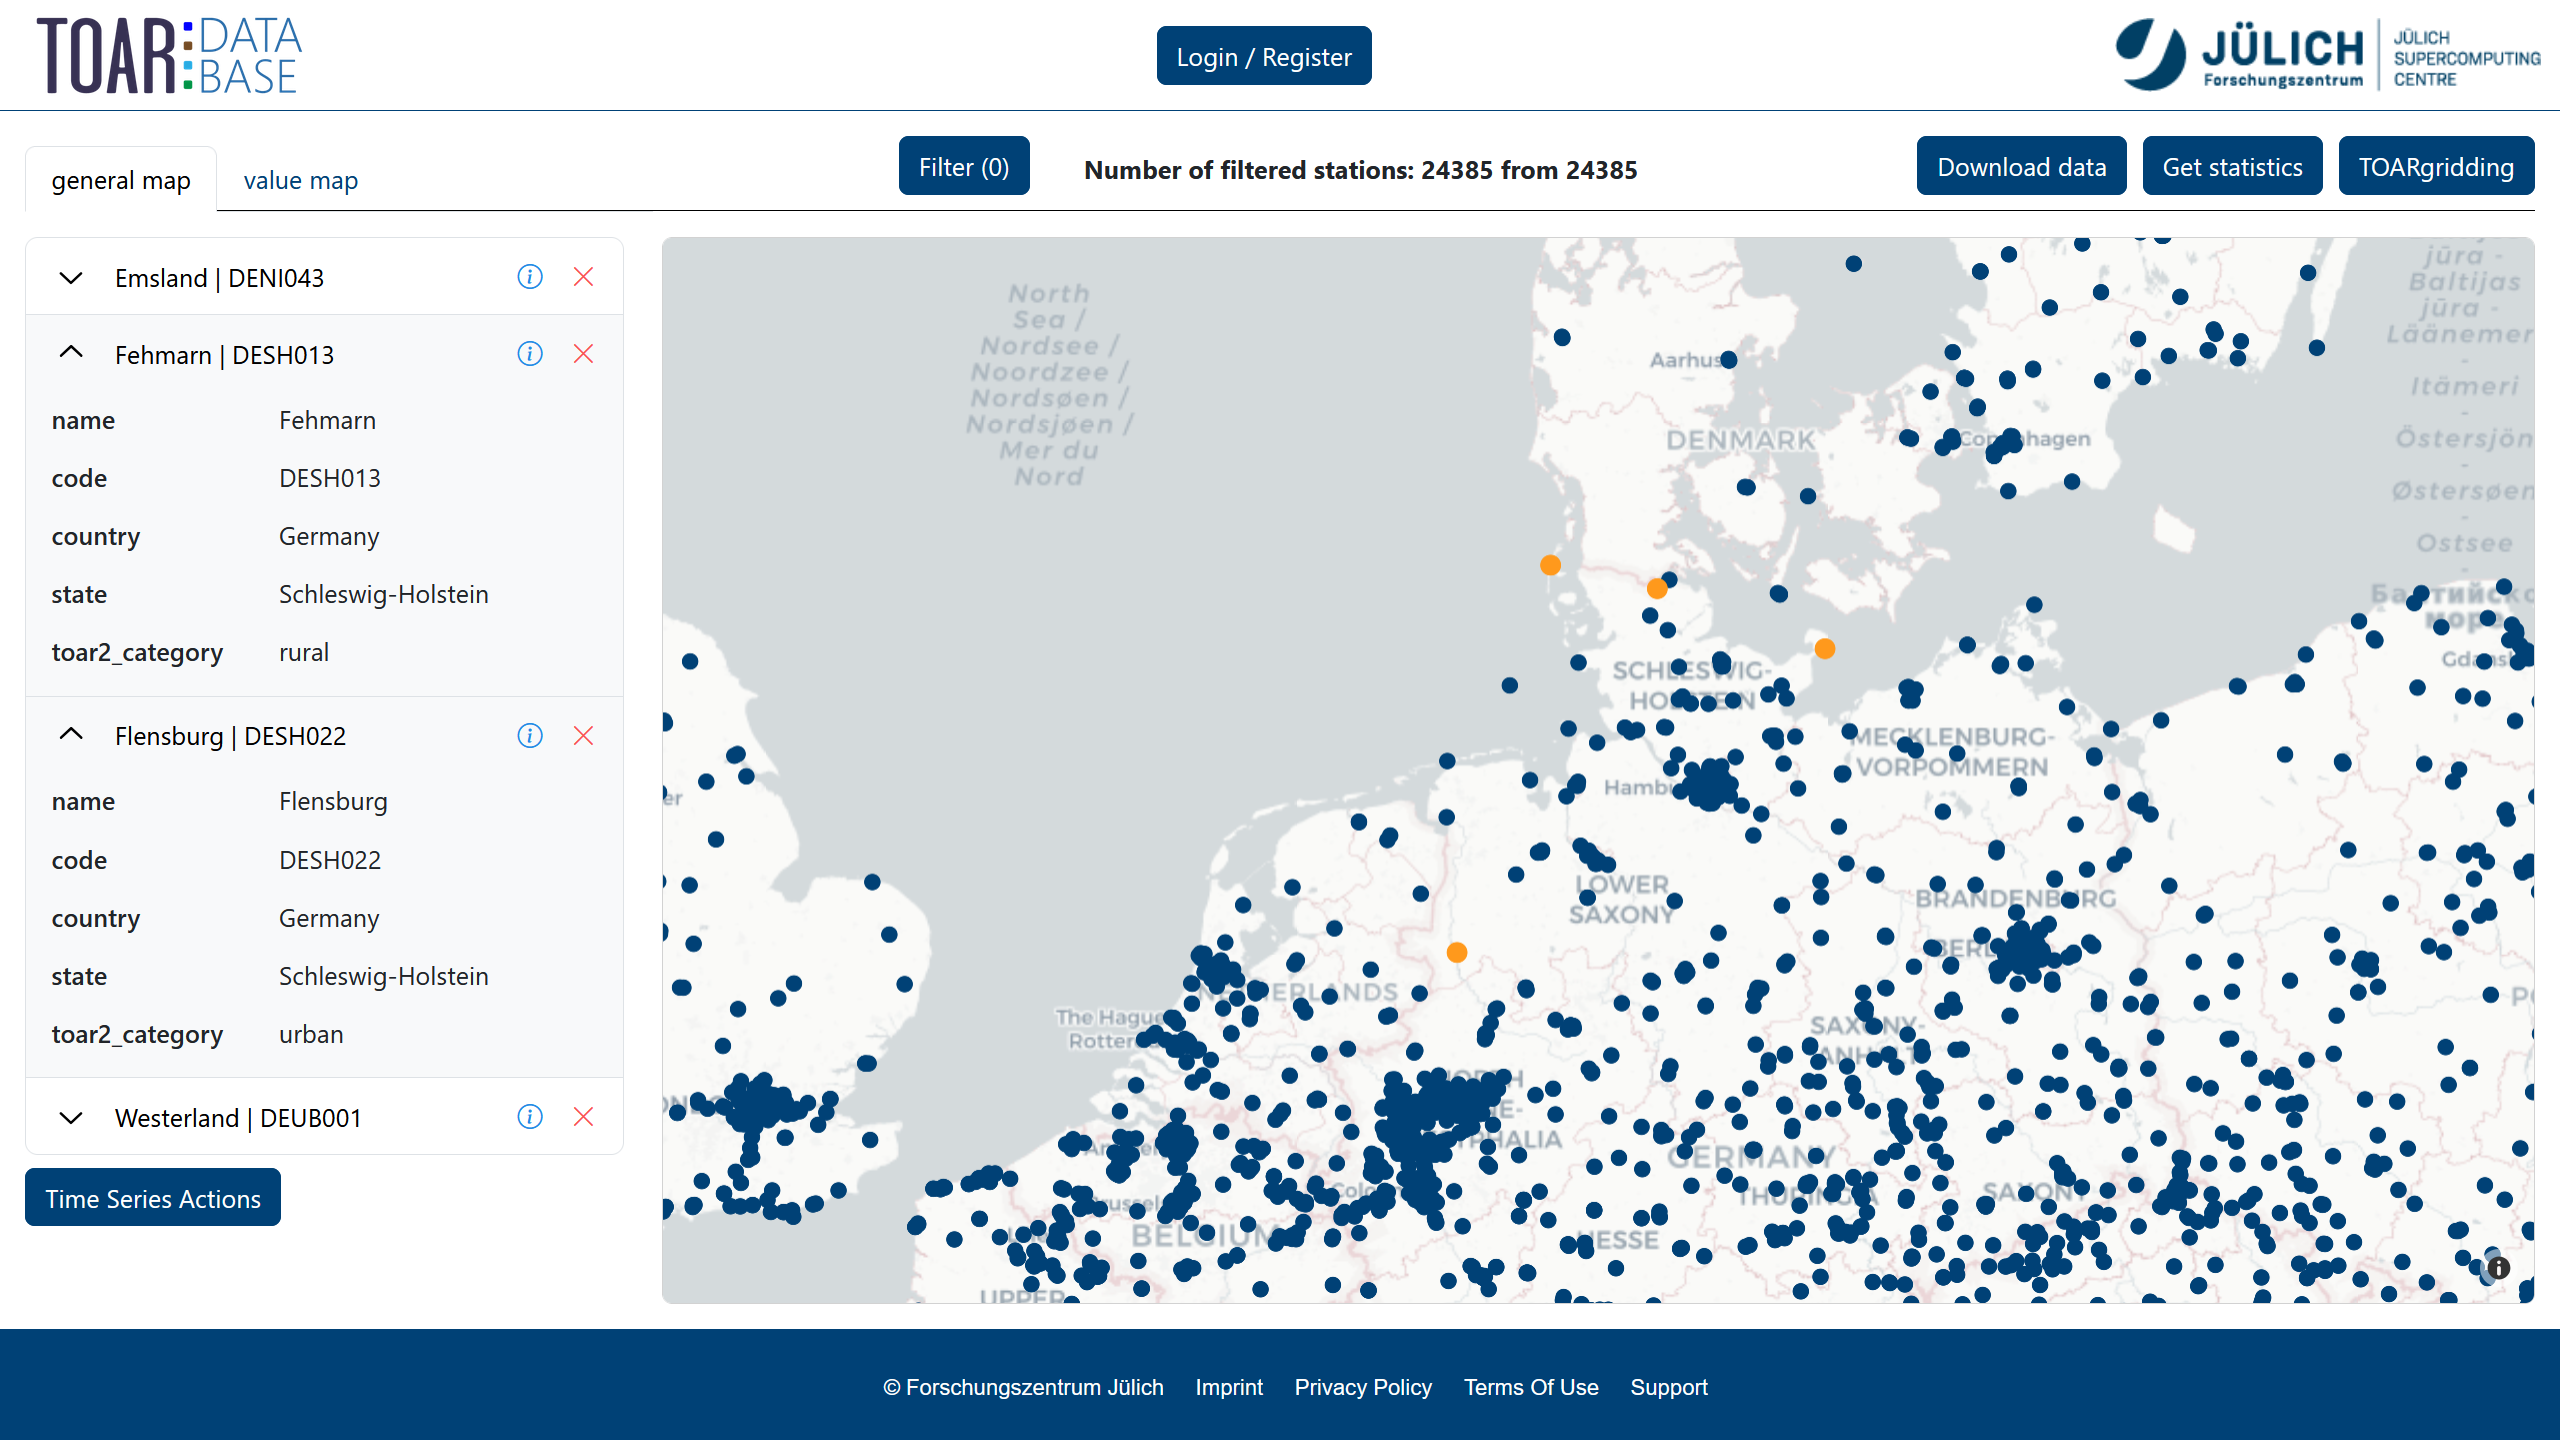
This is what the dashboard looks like when it is first opened. To browse and move the dashboard map, simply click and drag. You can also use the scroll function to zoom in or out of the map.
2.1. Select stations
The dashboard allows you to select stations for further inspection, such as plotting their time series or viewing their metadata. You can select stations using the map again.
2.1.1. Select a single station
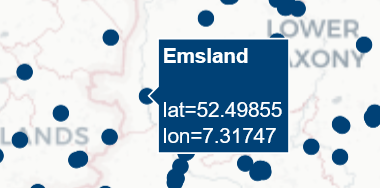
Hovering over a station on the map will display its name and coordinates.
To select a station, simply left-click on it. The selected station will then be highlighted in orange and will remain in front of other unselected stations. Therefore, you will also see it in dense regions or when you zoom out again. If you want so select a different station you may just click on another station displayed on the map and it switches to the new selected station. You can deselect a station either by clicking the red ‘x’ next to its information or by clicking on it again on the map.
2.1.2. Inspect station metadata
Once you have selected a station, it appears on the left-hand side of the map. There, you can see the station name and the station codes, which are separated by a ‘|’ symbol.

However, you can also expand the station by clicking anywhere on its title.

There you will see more metadata about the station, such as the name, station code, country and state, as well as the toar2_category. The toar2_category is a classification of the type of area of the station through a machine learning algorithm.
To see the full set of metadata we have for the station, click on the info icon next to the title. This opens a modal displaying the available metadata for this station.

In the bottom footer of the modal you also find a link to the API from which the metadata is received, in this case station 920: https://toar-data.fz-juelich.de/api/v2/stationmeta/id/920.
2.1.3. Select multiple stations
It is also possible to select multiple stations. To do so, press and hold the CTRL key on your keyboard while clicking on a dot on the map. If you do not hold down the CTRL key, you will only select the station that you have just clicked on, and any previously selected stations will be discarded. This adds stations to the left instead of replacing the previously selected ones. You can also discard a single station by clicking on the ‘x’.
2.2. Save map screenshots
You will find the option to take a screenshot of the map in the top right corner of the map. Simply click on the photo icon to save the current display of the map in PNG format.
